
Putting together a newsletter campaign can eat up your week. You're writing copy in one tab, designing the email in another, managing contacts in a third, and then trying to make sense of analytics from a fourth tool. The pieces rarely talk to each other.
Hostinger Reach pulls all of that into one place. AI handles the heavy lifting on writing and design, your contacts and segments live in the same dashboard, and your campaign analytics show up right next to the send button.
The steps below walk you through your first campaign from setup to send. You'll learn how to prepare your account, generate an email with AI, choose your recipients, schedule or send your campaign, and review the analytics once it lands in inboxes.
What is Hostinger Reach?
Hostinger Reach is a beginner-friendly {{deeplink:198683:[AI-powered email marketing tool]:email_marketing}} built for creators, small businesses, and website owners who want to send newsletters without learning a complicated platform. You can collect contacts, build campaigns, send emails, and review results from one dashboard.
It's designed to handle the full flow of {{deeplink:198683:[email marketing]:email_marketing_blog}} without the steep learning curve that comes with heavyweight tools. Reach lives inside the Hostinger ecosystem, so you can open it through hPanel or go straight to the Reach dashboard.
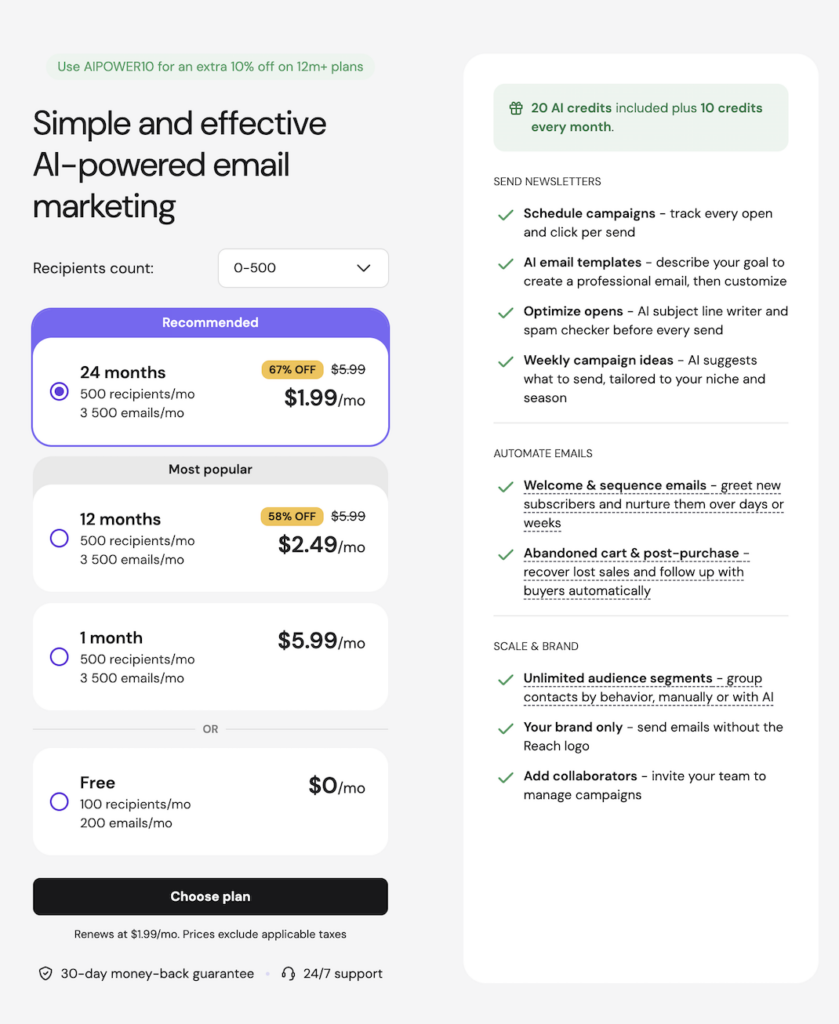
Paid plans start at $1.99 per month, with the entry tier covering small lists and scaling up as your audience grows
Before you create your newsletter campaign
A bit of prep work upfront saves you from getting stuck mid-campaign. Here's what to sort out first:
- Get a Hostinger Reach plan. You'll need an active plan to access the Reach dashboard, the campaign builder, and start adding contacts.
- Connect a custom domain. Sending from a professional domain like yourname@yourbrand.com builds trust faster than a generic Gmail address, and it keeps your emails out of spam folders.
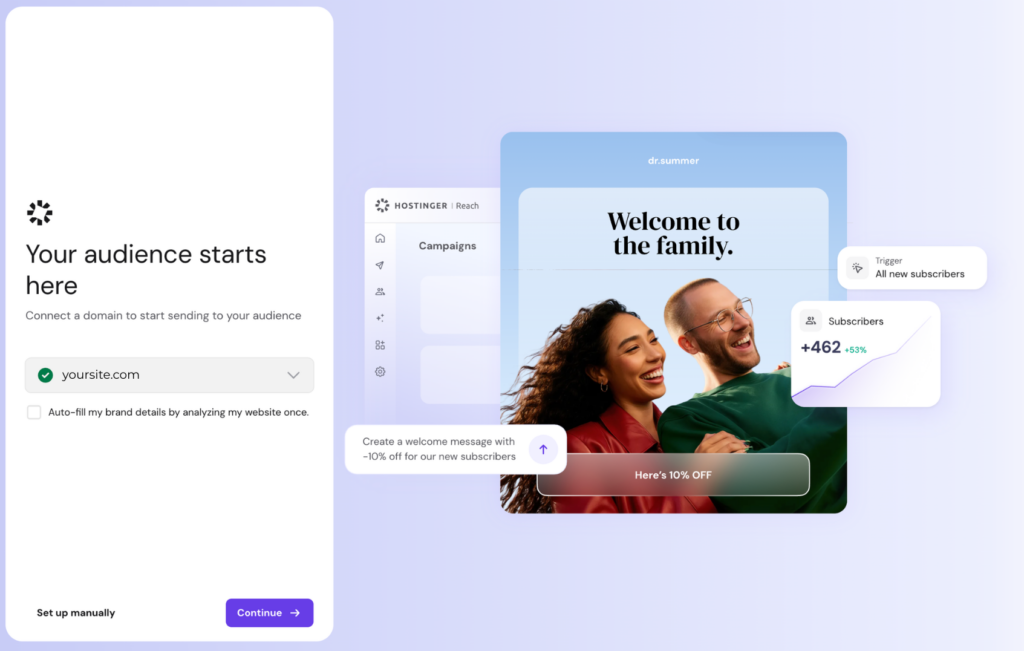
- ● Add or import your contacts. Upload an existing list, connect a lead generation form, or paste contacts directly into Reach.
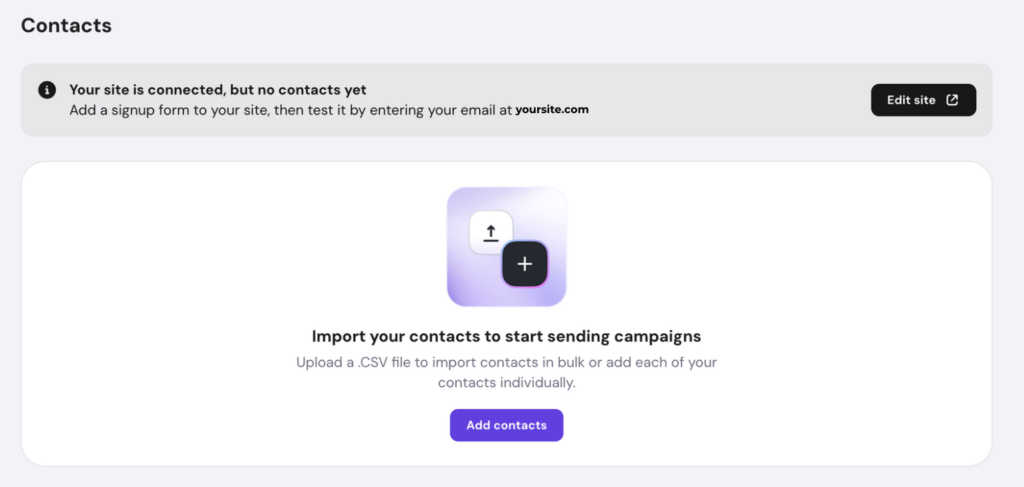
If you've just bought your plan and aren't sure what comes next, the Reach onboarding walkthrough covers everything that happens after checkout.
Step 1: Create a new campaign
Open the Reach dashboard, Campaigns, and click Create campaign to start a fresh newsletter. You'll be asked to name the campaign and write a subject line before moving on.

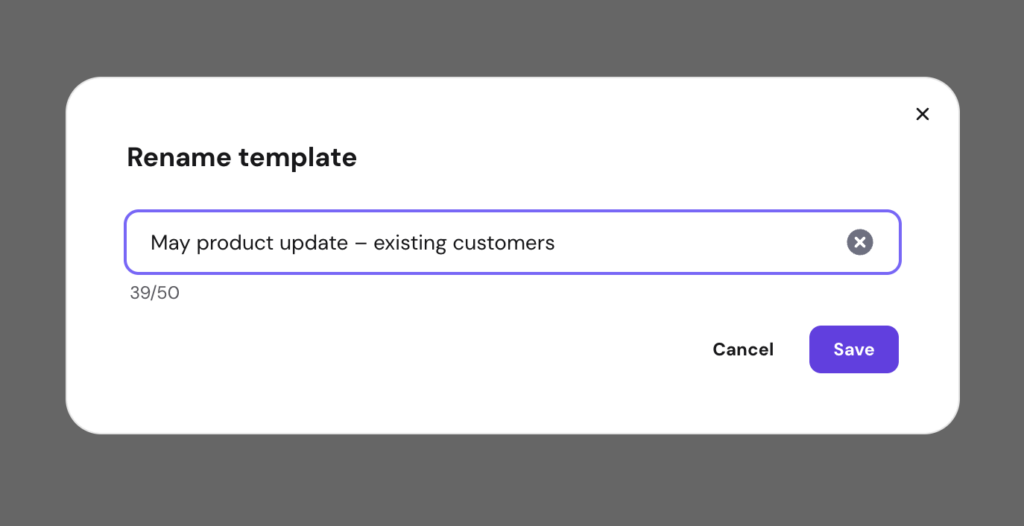
The campaign name is internal, so use something that helps you find it later. Something like "May product update – existing customers" works better than "Newsletter 1."
Your subject line is what subscribers actually see in their inbox, so make it specific and useful. Skip the all-caps, excessive emojis, and spammy phrases – a clear line like "Three new templates added this week" tends to perform better. Once that's done, click Continue.

Want to learn more about Hostinger Horizons?
Our review covers everything you need to know.
Step 2: Generate your newsletter with AI
Reach lets you describe your newsletter idea in plain language and turns it into a ready-to-edit email. You can either prompt the AI directly or pick from the template library.
A useful prompt looks something like this: "Monthly newsletter for my online plant shop. Highlight three new arrivals, share a quick care tip for spring, and announce a 15% discount code valid until May 30."
The more specific you are, the closer the draft will be to what you actually want.
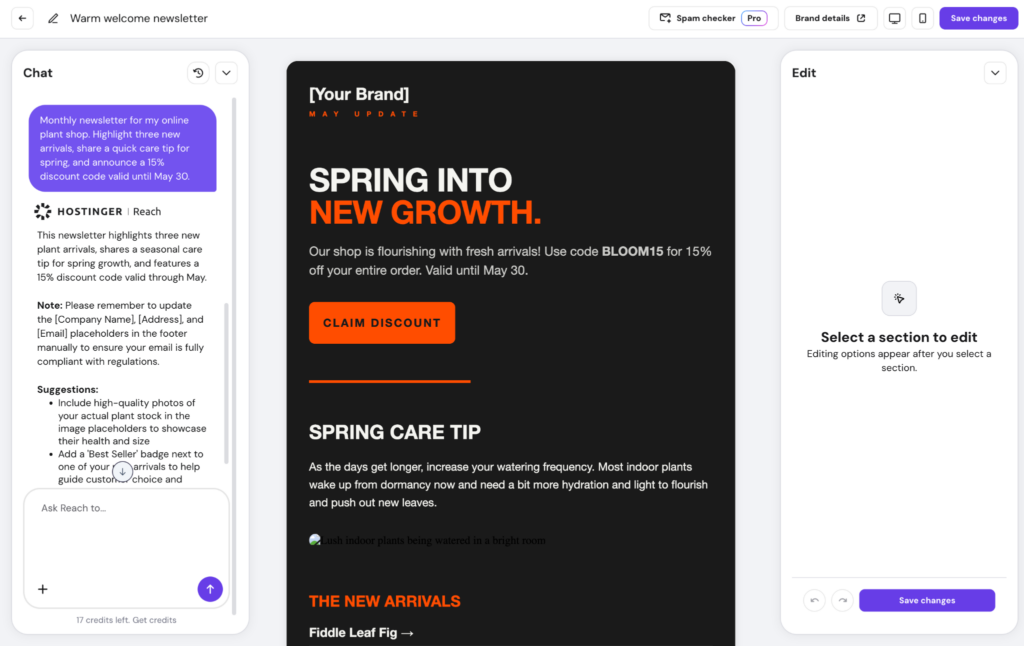
The AI uses your saved logo and color palette so the design stays on-brand. You'll get:
- A suggested layout that fits your content type.
- Copy you can edit sentence by sentence.
- A mobile-friendly structure so your email looks right on phones.
- Full control to tweak anything before sending.
You can rewrite sections, swap images, or change the layout once the draft loads by using AI credits.
Step 3: Review and customize the email
Before sending, walk through your draft once more to catch anything you missed. Here's a quick checklist:
- Subject line and preview text read clearly in an inbox.
- The main headline matches what's inside the email.
- Body copy flows and sounds like you.
- Your CTA button text is action-based, and the link points to where it should.
- Images load and look good on smaller screens.
- Brand colors, fonts, and logo are consistent.
- The legal disclosures and unsubscribe link are present in the footer.
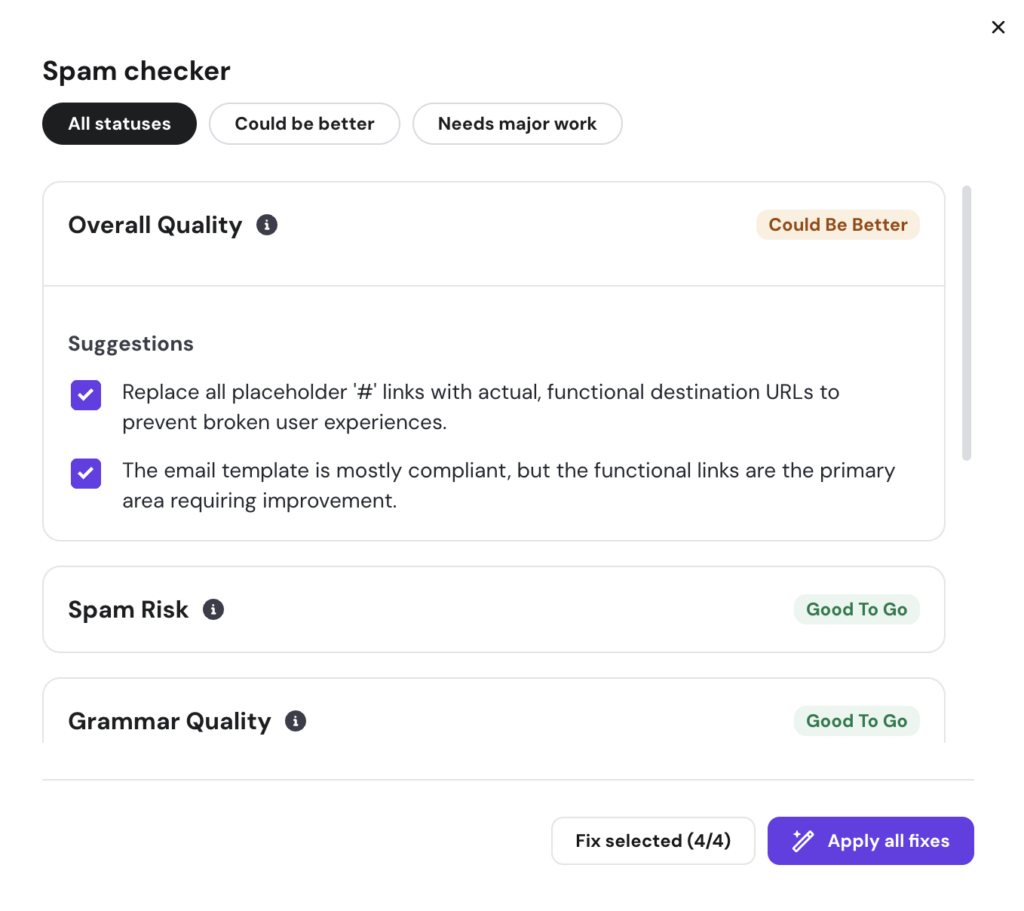
The Quality Checker scans your draft for grammar issues, readability problems, and spam-risk language, then suggests AI-powered fixes. It's worth running before you move on, especially if you wrote parts of the email manually.
Step 4: Choose your recipients
You can send to your entire contact list or to a specific audience segment. Segments are smaller groups based on tags, sign-up source, subscription status, engagement history, or any other attribute you've collected.
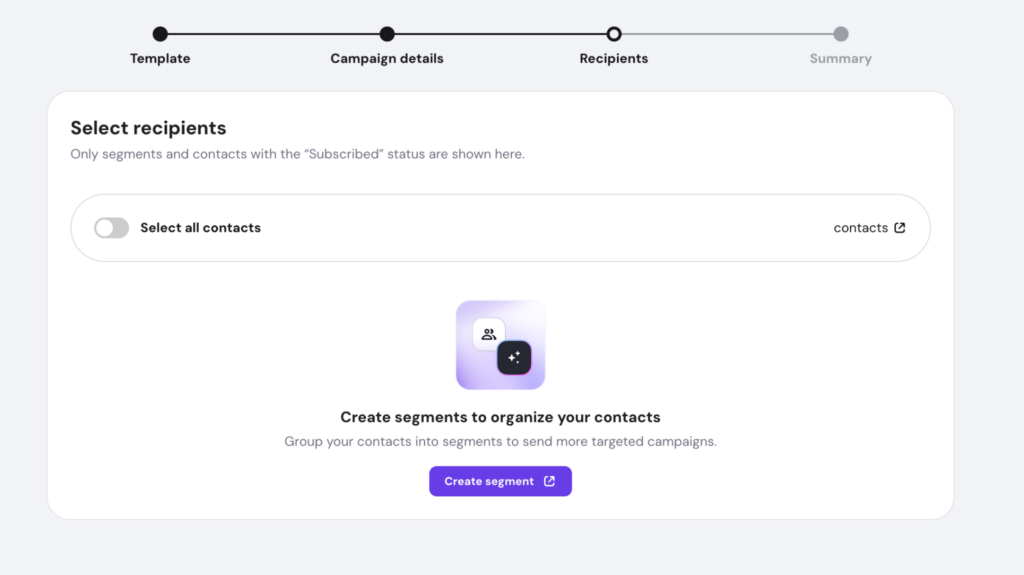
Reach also offers AI-powered segmentation, so you can describe your audience in natural language. Something like "customers who bought in the last 90 days but haven't opened my last three emails" works.
If a contact appears in more than one of your selected segments, the duplicate recipient protection makes sure they only get one copy of the email. That keeps your sender reputation clean.
One thing to keep in mind: only email people who've actually subscribed or permitted you to contact them. Buying lists or scraping addresses tanks your deliverability and breaks privacy laws in most countries.
Step 5: Send a test email
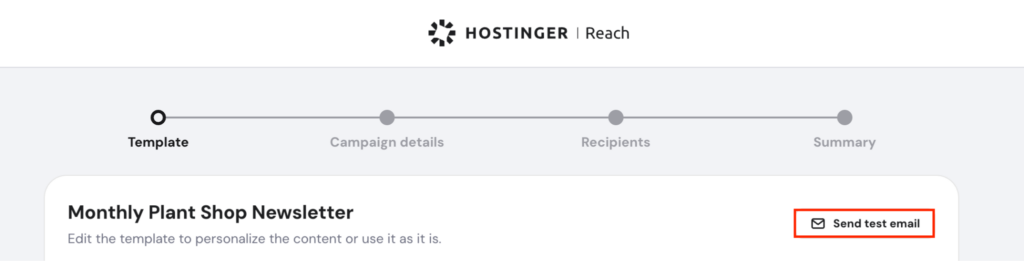
Always send yourself a test before hitting the real send button. It's the single best way to catch small mistakes before thousands of subscribers see them.
Open the test email on both your laptop and phone, then check:
- The sender's name is recognizable, not just a random address.
- The subject line looks clear and isn't cut off.
- Every link works and goes to the right page.
- The CTA button leads where it's supposed to.
- Spacing, fonts, and images render properly.
- The unsubscribe link is visible and clickable.
Beginners often skip this step and regret it. A two-minute test catches the kind of errors that look obvious in hindsight.
Step 6: Send or schedule the newsletter
Once everything checks out, you can send the campaign immediately or schedule it for later. Scheduling is handy when you want to write on Tuesday but reach your audience on Thursday morning.
Pick your send time based on what your audience actually does, not on generic "best time to send" advice. If you've sent campaigns before, look at your past open rates by hour and day to spot patterns. New to email? Start with a midweek morning slot and adjust as you collect data.

Step 7: Track campaign performance
After your newsletter goes out, Reach shows you how subscribers responded. Each metric points to a different part of your email, so treat them as feedback rather than scores.

- Open rate tells you how well your subject line and sender name worked. Low opens usually mean the subject line didn't grab attention.
- Click rate shows whether readers acted on what you wrote. Low clicks often signal a weak CTA, an unclear offer, or content that didn't match the subject line.
- Click-to-open rate, or CTOR, measures how convincing your email was once people opened it. High opens but low CTOR points to a content problem, not a subject-line problem.
- Unsubscribe rate flags whether your content matched what subscribers signed up for. A spike usually means you're sending too often or drifting off-topic.
- Recipient-level data lets you see opens, clicks, and delivery status per contact, which is useful for spotting your most engaged subscribers.
Use the numbers to plan your next campaign. Test clearer subject lines if opens are low. Rework your CTA or offer if clicks are weak. Review your targeting and frequency if the number of unsubscribes climbs.
Launch your first newsletter campaign with confidence
Hostinger Reach turns the seven-step flow above into something you can actually finish in an afternoon:
- Prepare.
- Generate with AI.
- Customize.
- Pick recipients.
- Test.
- Send, or schedule.
- Review the results.
The tool handles the heavy lifting on writing and design, which frees you up to focus on what you actually want to say.
Start with a simple campaign, see how it performs, and improve the next one based on real data. If you want to take things further once you're comfortable, {{deeplink:198683:[Hostinger's email marketing tool]:email_marketing}} also has automation features worth exploring – like welcome sequences and re-engagement flows that run on their own.